
iSCSI SAN for Windows


iStorage Server Ultimate |


|
|||
|
||||


Using iStorage Server you can map any storage device using already existing IP network. That is a huge benefit to any corporation that is managing large quantities of data and wants to share it with other clients. To start using it to share data please open iStorage Server Management Console and chose one of the following devices:
1. Hard Disk
Choosing this option will allow you to create iSCSI target by using physical disk, partition, image file or VHD.
2. CD/DVD Device
Choosing this option will allow you to create iSCSI target by using physical optical drive or CD/DVD image file.
3. Generic SCSI
Choosing this option will allow you to create iSCSI target by using any other generic SCSI device.
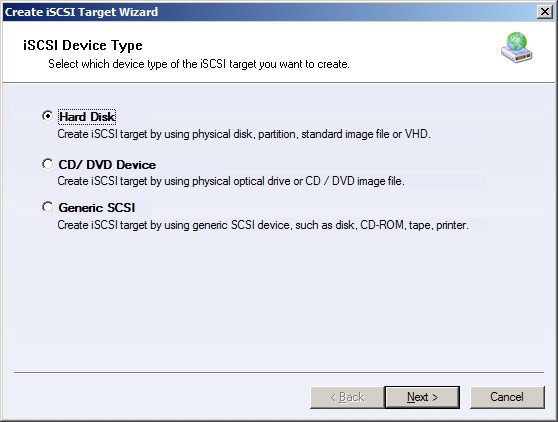
Figure 1
In this case we will select Hard Disk-->Image File-->Standard Image File-->Create a new image file-->Anonymous-->FinishNow while using client machine, open iSCSI Initiator to connect to target. (Figure 1)
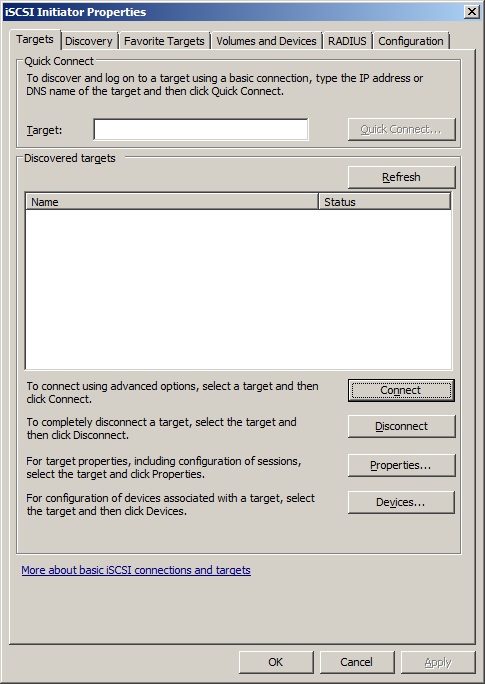
Figure 2
Switch to Discovery Tab click on Discover Portal-->Type Server IP. (Figure 3)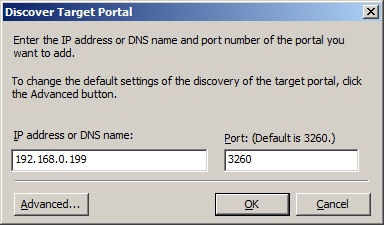
Figure 3
We are connected to array itself but we need to choose specific target to what we want to connect to. Switch back to Targets tab, chose desired Target and click on Connect button-->Ok. (Figure 4)
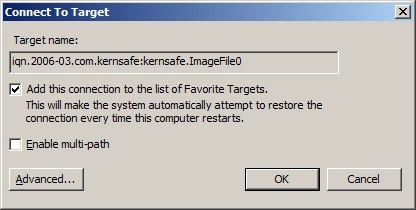
Figure 4
The drive we are just connected to is in RAW condition therefore we need to initialize and format it in Disk Management.
The drive we are just connected to is in RAW condition therefore we need to initialize and format it in Disk Management.
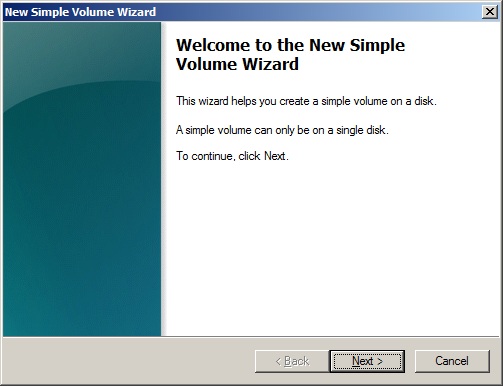
Figure 5
Follow all steps from Volume Wizard and wait for your drive to be formatted.
After formatting, your drive is ready to use.
Notice that Windows sees this new drive just like any other local volume therefore you can use it just like a local one.
SUPPORT
- Forum
- Support Ticket
- [email protected]

- Voice Mail:
- +1 (518) 289-4888