
iStorage Server Online Help

| Clustered iSCSI SAN Node | KernSafe iSCSI SAN User Manual |
|
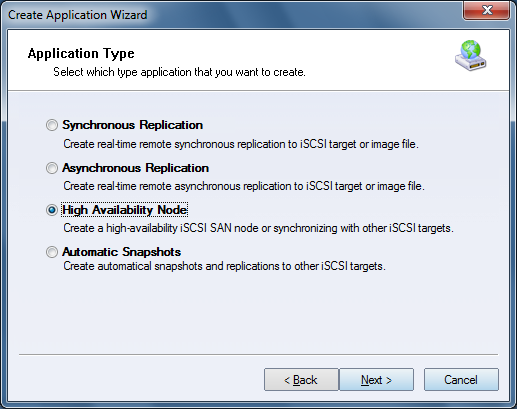
In a single-server deployment, storage services become unavailable if that server stops unexpectedly. KernSafe iSCSI SAN can be configured as a high-availability cluster by using two or more nodes. If one node fails, another node can take over service automatically without requiring administrator intervention. Creating a Clustered iSCSI SAN Node Step 1. Right-click the Applications node in the left tree of the main window, then choose Create Application.
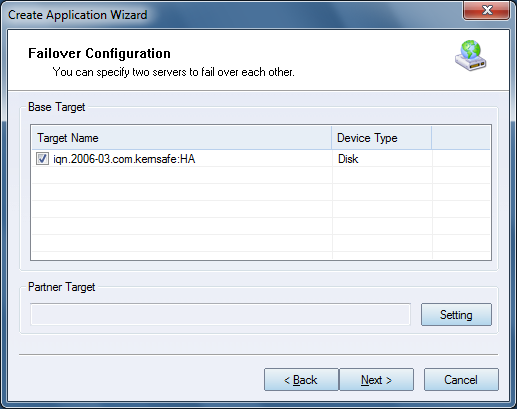
Select High Availability Node as the application type. Click Next to continue. Step 2. Configure failover.
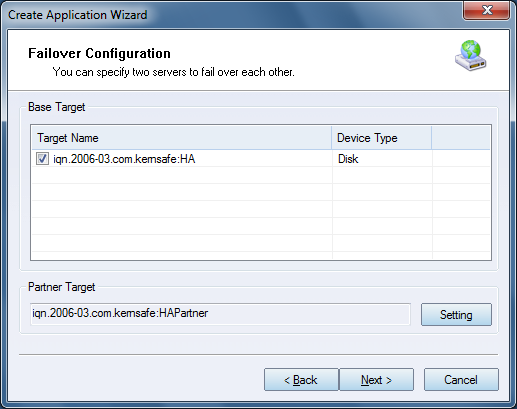
Select the base target, then click the Setting button to locate the Partner Target.
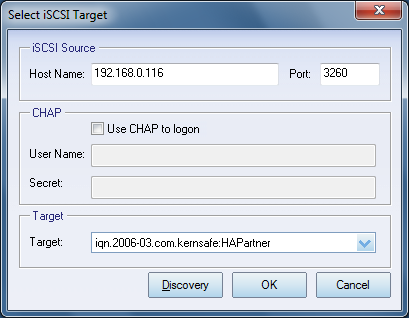
Enter the host name and port of the remote iSCSI server, then click Discovery to retrieve the available targets. Select the required target and click OK. If the selected target requires CHAP authentication, provide the user name and secret. Click Next to continue.
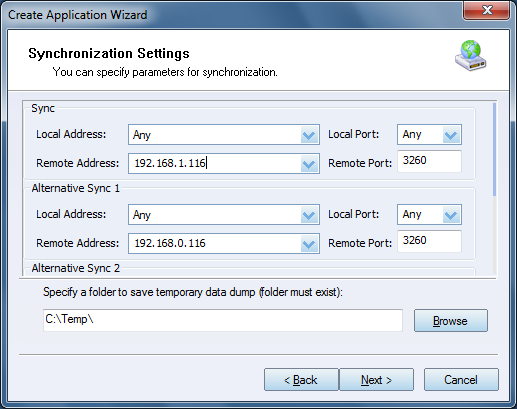
Step 3. Configure synchronization settings.
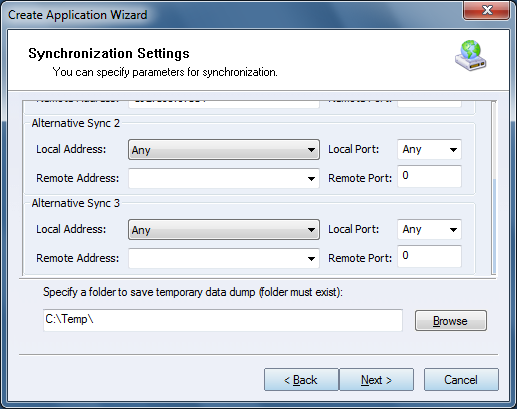
In this window you can specify synchronization parameters such as the Port Address and the data dump folder. Note: Newer versions of KernSafe iSCSI SAN allow multiple NICs to be used for synchronization in order to reduce the risk of split-brain conditions. Specify the main synchronization channel, then scroll through the window to configure additional channels. These secondary channels act as heartbeats and can take over if the primary synchronization channel fails.
Click Next to continue. Step 4. Choose the mirror synchronization mode.
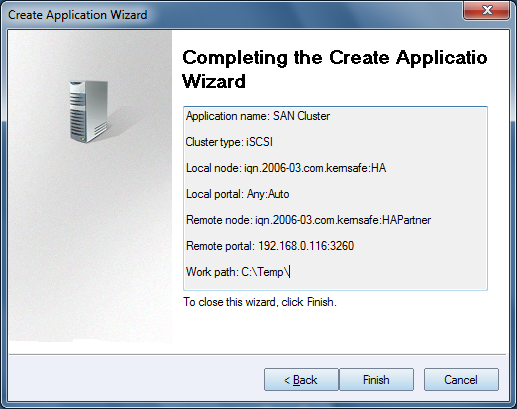
If both targets are new and uninitialized, you can choose Create mirror device without synchronization (Manual Initialization). Otherwise, choose Create mirror device with full synchronization from base iSCSI target. Note: All data on the mirror device is destroyed during full synchronization. Step 5. Complete application creation.
Click Finish to create the application. Repeat Steps 1 through 5 on the partner server so that the failover application exists on both nodes.
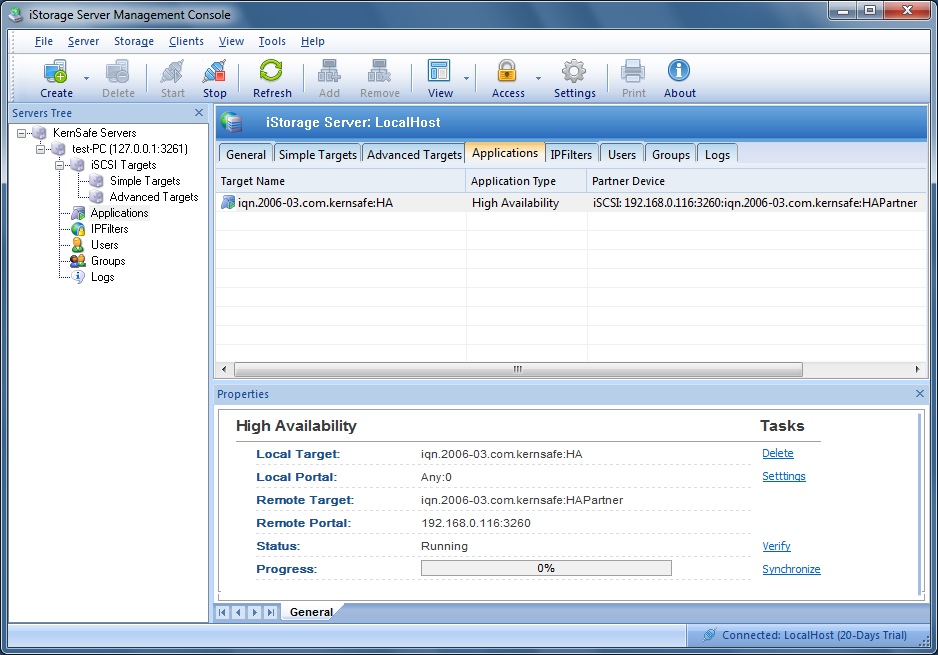
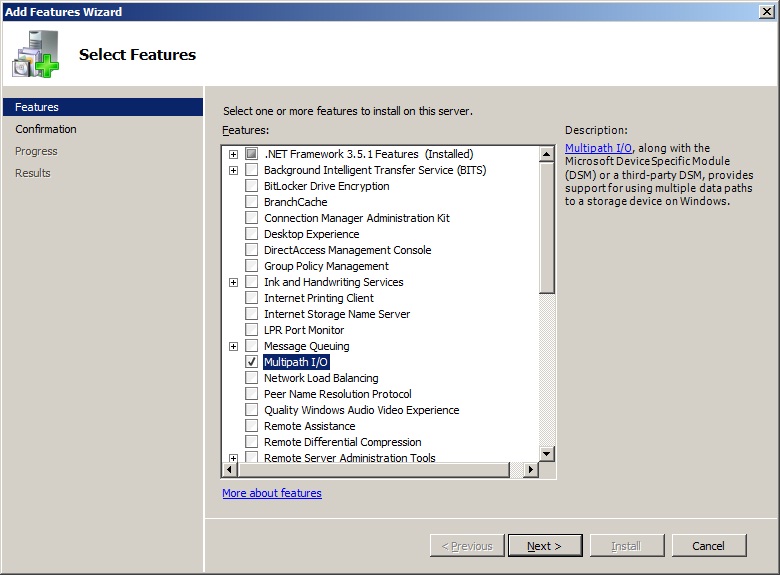
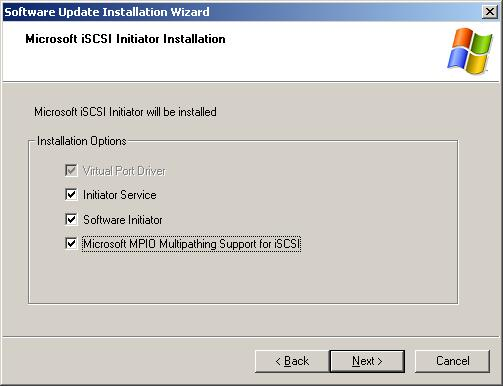
After the application has been created on both nodes, click Applications in the left pane to check its status. Running: Both the current server and the partner server are operating normally. Configuring Windows Server 2008 Install the MPIO feature
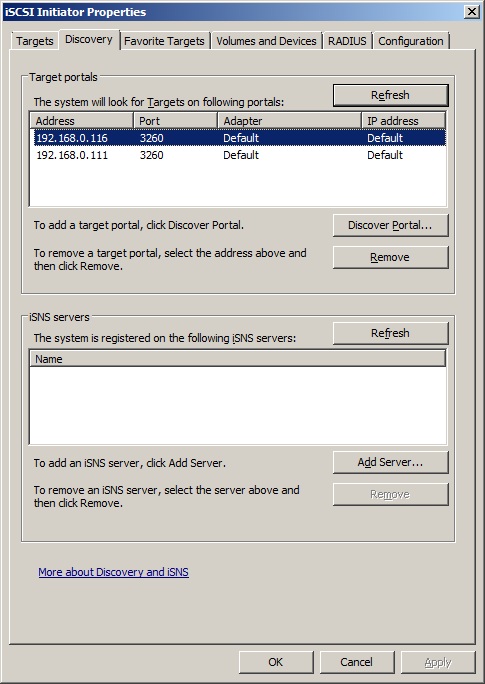
Connect the targets
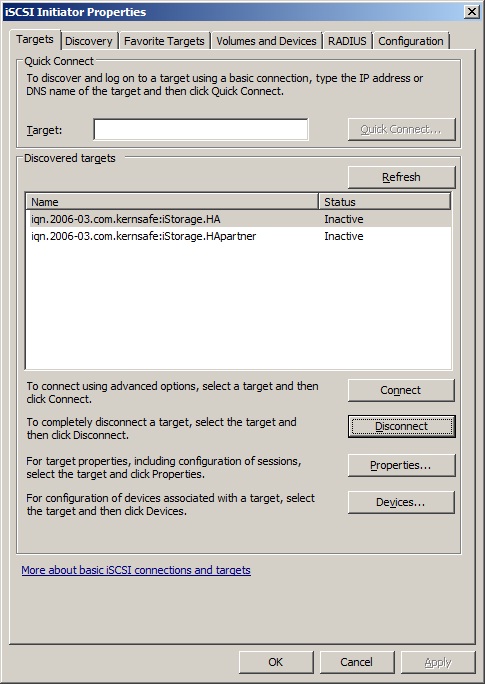
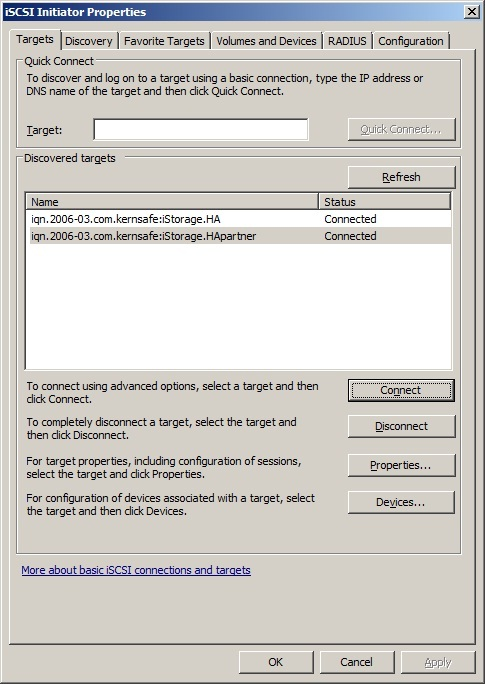
Switch to the Targets tab.
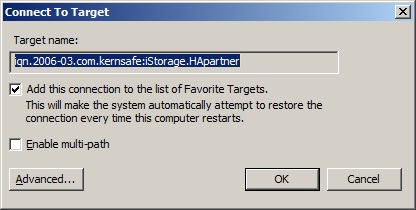
Connect the targets by clicking Connect.
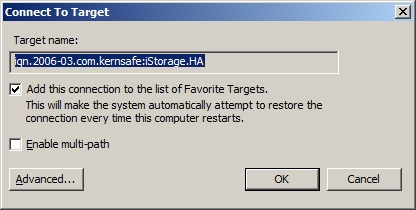
Click OK to connect the target.
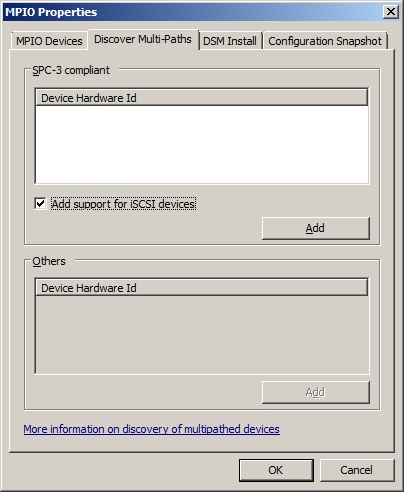
The client is now connected to both targets. Enable multipath support
Click Add.
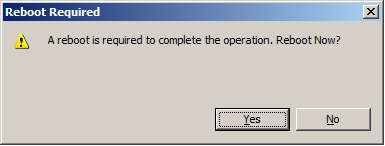
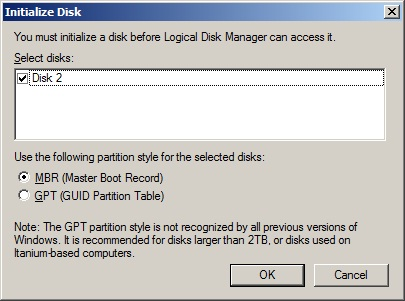
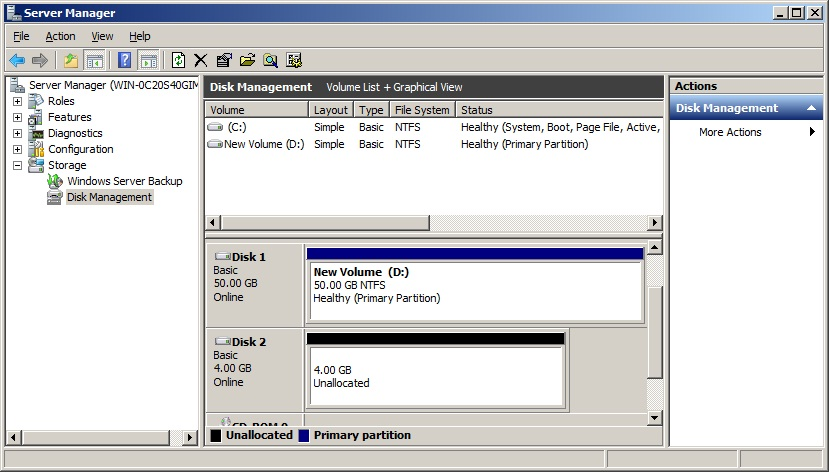
Click Yes to restart the server. Before using the disk, initialize it.
Select Disk 2 and click OK to complete initialization.
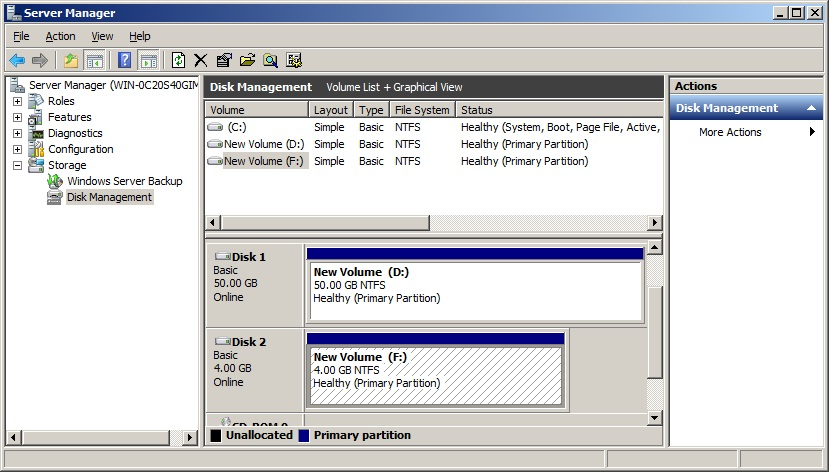
Right-click the disks, choose New Simple Volume, then partition and format the two disks by following the wizard.
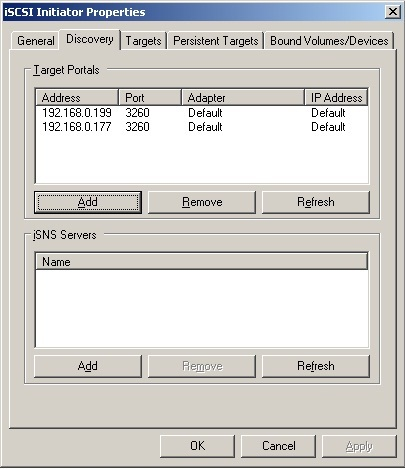
Configuring Windows Server 2003 Enable multipath support
Restart the computer before continuing. Connect to the target
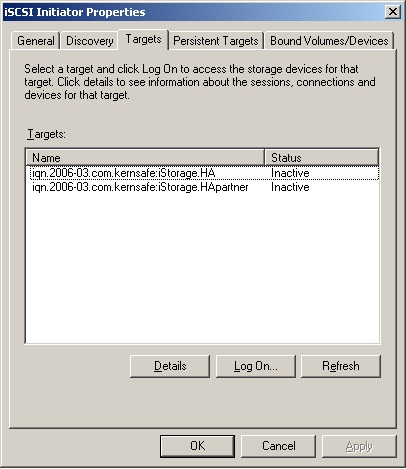
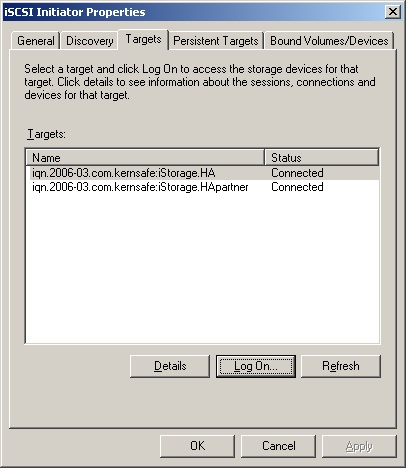
Switch to the Targets tab.
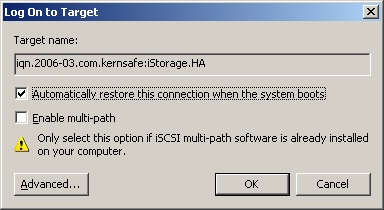
Connect the targets by clicking Log On.... Target 1
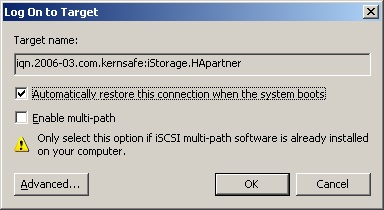
Target 2
Click OK to connect the target.
The client is now connected to both targets. Use Windows Disk Management to initialize, partition, and format the disk before putting it into service. | |

SUPPORT
- Forum
- Support Ticket
- [email protected]

- Voice Mail:
- +1 (518) 289-4888