
KernSafe > Technical Articles > INetDisk Quick Start
INetDisk Quick Start

INetDisk Quick Start
Configure INetDisk services
1. Start Service INetDisk Configurator.
Click Start > All Programs > KernSafe > INetDisk Server>Service Configurator, to start up INetDisk Service Configurator.

2. Configure INetDisk Service.
Press the Create button in the toolbar, the Create Service dialog is shown.
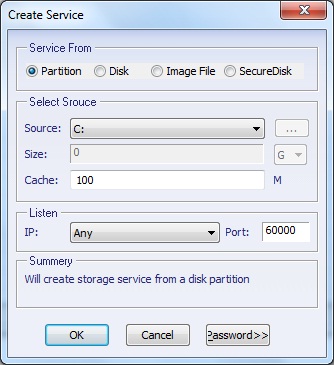
Choose Partition in the Service From group box and select drive letter in the Select Source group box .
Press the OK button to complete service creation.
3. Start INetDisk Service.
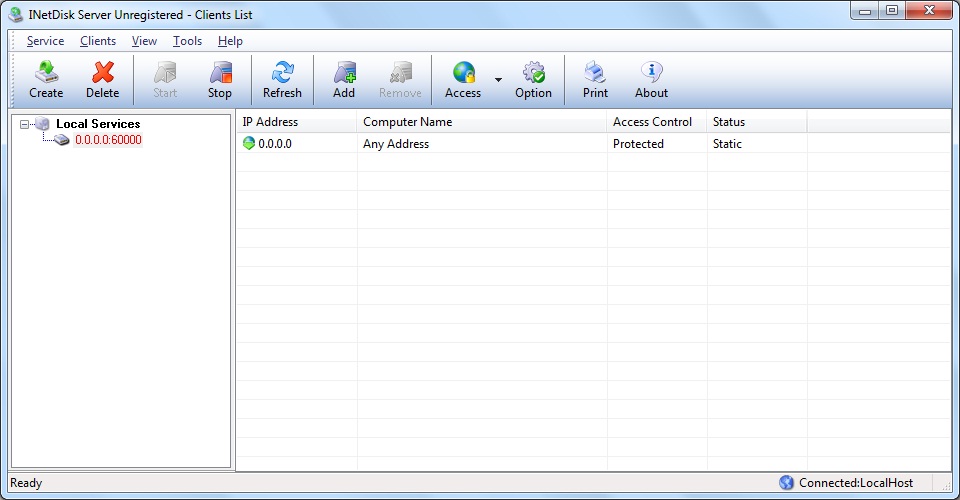
Select "0.0.0.0:60000" in left tree view, and then press the Start button in the toolbar to start INetDisk Service. You will see the color of this item changed to red.
4. Add trusty clients.
The clients whose address is not added to INetDisk Service's "Clients List" cannot connect to this service. so you should add some address to "Clients List", by default, there is a Any address which means all clients can connect to this service but all of them has only read only access right.
Maintain the selection on the "0.0.0.0:60000", press the Add button in the toolbar, the Add Trusty Clients dialog is shown.
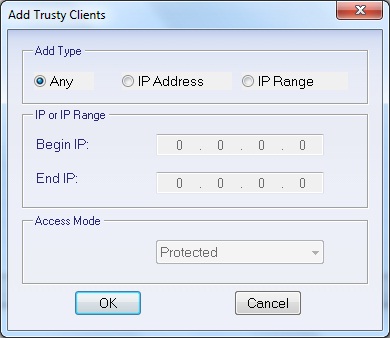
Specify IP addresses and access mode.
Press the OK button to continue.
Now, well done, we have completed the server side configuration.
Configure INetDisk Client
1.Start Client Disk Editor.
Click Start > All Programs > KernSafe > INetDisk Server > Client Disk Mounter, to start up INetDisk Mounter.
2. Mount Disk.
Press the Mount button on the toolbar, the Disk Mount dialog is shown.
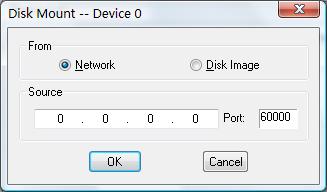
Type IP address, such as "192.168.0.2", and Port which default value is 60000.
Press the OK button to continue.
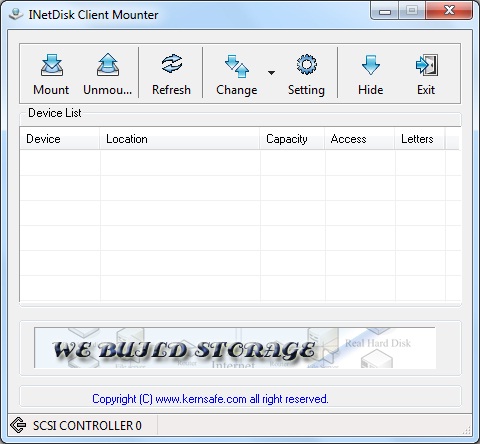
3.View mounted disk.
After the disk is successfully mounted, you will see it in the Device List of Client Mounter.
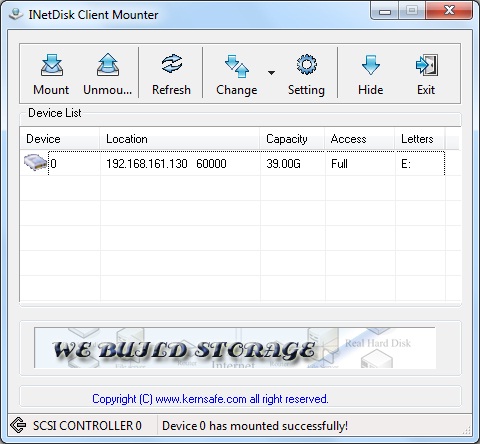
You have completed this guide, you can use drive "R:" as same as your own disk.
SUPPORT
- Forum
- Support Ticket
- [email protected]

- Voice Mail:
- +1 (518) 289-4888